

Installing Solar Panels in Remote Locations
Installing Solar Panels in Remote Locations
Installing solar power at a remote site involves much more than mounting a panel and connecting a battery. Reliable off-grid operation depends on understanding the equipment load, available sunlight, battery-storage requirements, environmental conditions, mounting method, charge-controller limits, wiring, protection, and commissioning.
Remote cameras, wireless radios, environmental sensors, industrial monitoring equipment, cellular routers, telemetry systems, and other field electronics may need to operate continuously for years with limited access to utility power. Careful planning before installation can reduce field problems and make the complete system easier to maintain.
Plan the Complete Remote Power System Before Installation
A successful remote solar installation starts with the application rather than the solar panel itself. The system needs to generate enough energy to operate the equipment and restore energy removed from the batteries, even as sunlight, temperature, and equipment demand change.
Before choosing hardware, establish:
- Equipment operating voltage and power consumption
- Hours of operation per day
- Installation location and available sunlight
- Required battery autonomy
- Expected temperature range
- Pole, wall, ground, or other mounting requirements
- Future load expansion and service requirements
Follow the Equipment Instructions and Applicable Electrical Requirements
Solar modules can produce electrical voltage whenever they are illuminated. Installation should follow the instructions for the panels, charge controller, batteries, protection devices, and connected equipment, along with applicable electrical and structural requirements. Use qualified personnel when required for the installation.
Step 1: Evaluate the Installation Site
Begin with a physical site assessment. Look for a location that provides good solar exposure while also supporting a secure mounting structure and practical cable routing.
Important site conditions include:
- Seasonal sun exposure and potential shading
- Trees, buildings, towers, antennas, or terrain that may block sunlight
- Wind exposure and mounting loads
- Snow and ice conditions where applicable
- Ambient temperature range
- Flooding, corrosion, dust, or other environmental exposure
- Access for future inspection and maintenance
The best mounting location is not always the closest point to the equipment. Solar exposure, cable length, structural integrity, service access, and environmental protection should all be considered together.
Step 2: Calculate the Equipment Load
List every device the system needs to power and identify its operating voltage, wattage, and daily operating time. Common remote loads include cameras, wireless bridges, access points, cellular routers, radios, sensors, monitoring equipment, controllers, and lighting.
Continuous loads deserve particular attention. A device drawing only a few watts can consume a substantial amount of energy when it operates 24 hours per day.
Convert the complete load into daily watt-hours. That energy requirement becomes the starting point for solar-array and battery sizing.
Estimate the Solar and Battery Requirements
Tycon Systems® provides power and solar calculators that can help establish initial requirements based on equipment load, operating time, available sunlight, and battery reserve.
Use the Power & Solar Calculators →Step 3: Select and Size the Solar Panels
The solar array must provide enough daily energy to operate the equipment and recharge the battery bank. Array sizing should account for the site's Peak Sun Hours, seasonal conditions, system losses, panel orientation, temperature, and desired battery-recovery time.
Higher panel efficiency can be useful where mounting space is limited, but efficiency alone does not determine whether a panel is appropriate. Voltage, wattage, physical dimensions, mounting compatibility, and controller limits all matter.
Browse Tycon Solar® solar panels for remote power, battery charging, surveillance, wireless, and field-equipment applications.
Step 4: Choose the Mounting Location and Panel Angle
Solar panels should be mounted where they receive strong solar exposure during the periods that matter most to the application. There is no single tilt angle that is ideal for every remote installation.
Geographic latitude can provide a useful starting point, but the final orientation and angle may need to account for seasonal solar conditions, winter performance, local shading, wind loading, snow shedding, structural limitations, and the mounting hardware being used.
Common remote-site mounting approaches include:
- Side-of-pole solar mounts
- Wall mounts
- Ground-mount structures
- Application-specific field structures
Tycon Solar® solar accessories and mounting hardware include pole, wall, and ground-mount options along with cables, connectors, breakers, enclosures, and related installation components.
Step 5: Size and Install the Battery Storage
The battery bank supports the load when solar production is low or unavailable. Capacity should be selected around daily energy use, required autonomy, battery chemistry, allowable depth of discharge, temperature, expected aging, and system losses.
Common remote-power battery options include sealed lead-acid and LiFePO4 batteries. Each chemistry has different charging, temperature, cycling, and storage characteristics, so battery selection should be matched to both the site and charge controller.
Browse Tycon Solar® batteries for off-grid solar and backup-power applications.
Step 6: Select the Solar Charge Controller
The solar charge controller regulates energy moving from the solar array into the battery bank. Controller selection should account for battery voltage, battery chemistry, solar-array voltage, available charging current, load requirements, and any monitoring or communications features needed by the project.
PWM controllers can be appropriate for compact systems where panel and battery voltages are suitably matched. MPPT controllers provide greater flexibility in many higher-power applications and systems where the solar-array operating voltage is substantially higher than battery voltage.
Pay particular attention to maximum PV input voltage. Solar-panel open-circuit voltage increases as temperature falls, so the array's expected cold-weather Voc should remain safely within the controller's published limit.
Compare Tycon Solar® solar charge controllers when matching PWM, MPPT, and specialized solar-control options to the installation.
Step 7: Plan Enclosures, Wiring, and Electrical Protection
Remote installations expose power equipment to temperature, moisture, dust, wildlife, UV exposure, and other environmental conditions. Batteries, controllers, networking equipment, and electrical connections should be protected using enclosures and hardware appropriate for the site.
Installation planning should include:
- Correct conductor size for voltage, current, and cable length
- Outdoor-rated cables and connectors where exposed
- Proper polarity throughout the system
- Appropriate fuses, breakers, and disconnects
- Grounding and bonding appropriate to the equipment and installation
- Cable routing that limits abrasion and water entry
- Weather-resistant enclosure and cable-entry methods
Step 8: Mount the Solar Panels Securely
Install the mounting structure according to its instructions and confirm that the pole, wall, ground structure, or other attachment point can support the expected mechanical loads.
Panels should be secured without placing unintended stress on the module frame. Cable routing should avoid sharp edges, moving hardware, standing water, and locations where wiring can be damaged during future service.
Before completing the installation, confirm panel orientation, fastener security, cable strain relief, connector engagement, and clearance around the array.
Step 9: Connect the Electrical System
There is no universal connection sequence that should be applied to every solar charge controller. Some controllers require the battery to be connected before the PV array so the controller can establish the correct system voltage and operating state.
Always follow the connection and disconnection sequence specified by the controller, battery, and system manufacturer.
Before energizing the system, verify:
- Battery polarity and voltage
- Solar-array polarity and expected voltage
- Controller battery and PV ratings
- Fuse and breaker installation
- Load wiring and output voltage
- Grounding and enclosure connections
Step 10: Commission and Test the System
Commissioning verifies that the installation is operating as designed before the site is left unattended.
Useful checks include:
- Battery voltage and controller charging status
- PV input voltage and charging current
- Correct output voltage at the connected equipment
- Equipment operation under normal load
- Low-voltage disconnect or load-control settings where used
- Communications and monitoring functions
- Final inspection of connectors, cable routing, mounting, and enclosure sealing
Recording the initial battery voltage, charging conditions, load current, and controller status creates a useful baseline for future troubleshooting.
Need a Complete Remote Solar Power System?
Building from individual components makes sense when the complete electrical and mechanical design is already defined. For projects that need solar generation, battery storage, charge control, enclosure, cabling, and mounting selected as an integrated system, RemotePro® off-grid solar power systems provide configurations designed for cameras, wireless networks, sensors, communications equipment, and other remote electronics.
Explore RemotePro® →Common Remote Solar Installation Applications
Security and Surveillance
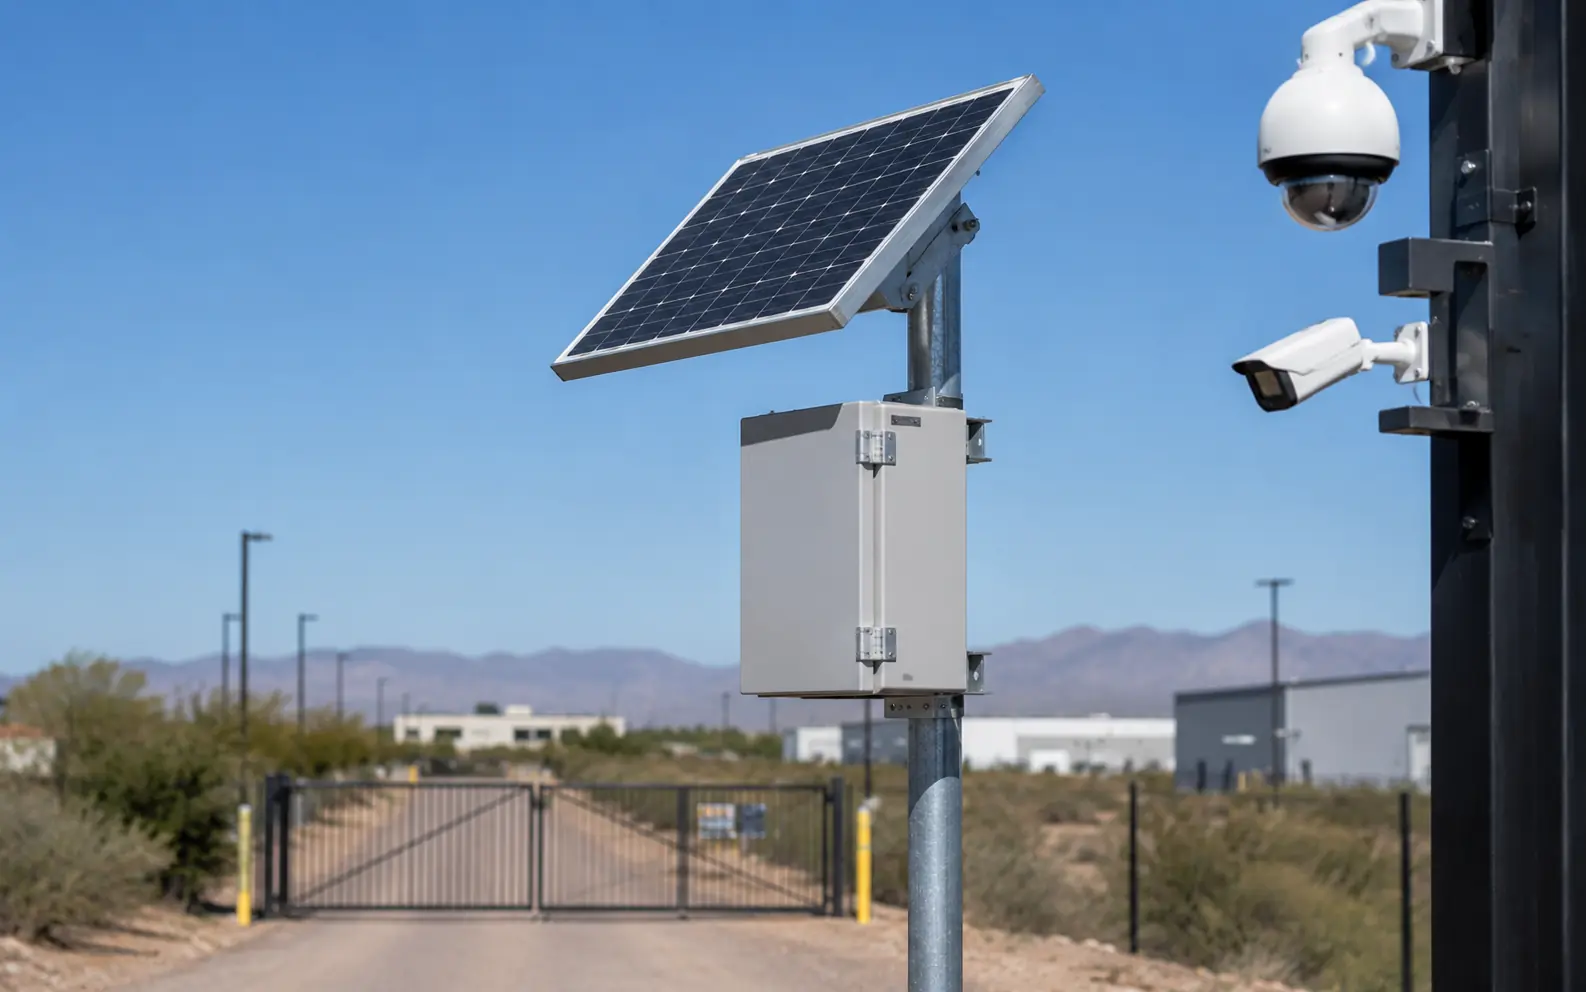
Cameras, wireless bridges, cellular routers, and networking equipment can be powered at gates, construction sites, agricultural properties, utility locations, and other areas where extending AC power would be difficult.
Wireless and Communications Equipment
Access points, radios, repeaters, cellular gateways, and other communications equipment are often located on poles, towers, hillsides, or other sites where locally generated solar power can simplify deployment.
Industrial and Environmental Monitoring
Sensors, telemetry systems, weather stations, water-monitoring equipment, industrial IoT devices, and control systems can operate independently when the solar and battery system is sized around their actual energy requirements.
Remote Properties and Field Infrastructure
Remote buildings, utility assets, agricultural infrastructure, transportation equipment, and other field installations may use solar to support communications, monitoring, security, and other continuous low-power loads.
Maintaining a Remote Solar Installation
A properly installed solar power system can require relatively little routine attention, but remote installations should still be inspected periodically.
Depending on site conditions, maintenance may include:
- Checking panels for dirt, snow, vegetation, or new shading
- Inspecting mounts and structural hardware
- Checking exposed cables and connectors for damage
- Reviewing battery condition and operating temperature
- Checking enclosure seals and cable entries
- Reviewing controller status, alarms, and available monitoring data
Remote Solar Installation FAQs
How much solar power does a remote site need?
It depends on the total daily energy consumption of the equipment, available sunlight, system losses, required battery autonomy, seasonal conditions, and desired battery-recovery time.
What angle should a solar panel use at a remote site?
Latitude can provide an initial reference, but the best fixed angle depends on the site's seasonal solar conditions, required winter performance, shading, snow, wind, and mounting constraints. The installation should be optimized around when the system most needs energy.
Can solar power remote cameras and wireless equipment continuously?
Yes, when the solar array and battery bank are properly sized around the equipment's daily energy consumption and the site's expected solar conditions.
Can remote solar systems operate in cloudy or cold climates?
They can, but the design must account for reduced seasonal sunlight, periods of cloud cover, battery-temperature performance, snow conditions, and increased solar or battery capacity where required.
Should the solar panels be connected before the battery?
Do not assume one connection sequence applies to every system. Follow the charge-controller manufacturer's specified startup and shutdown sequence. Some controllers require the battery connection to be established before solar input is connected.
Is it easier to use a complete off-grid system?
It can be. Complete systems are useful when panels, batteries, charge control, enclosure, and mounting need to be selected together. Individual components may be preferable when the installer already has a defined electrical and mechanical design.
Start With the Load and Site Conditions
If you're matching equipment load, solar capacity, battery storage, mounting, enclosure space, and site conditions, Tycon Systems® can help develop a remote power configuration around your project.
Request a System Design → Explore RemotePro®